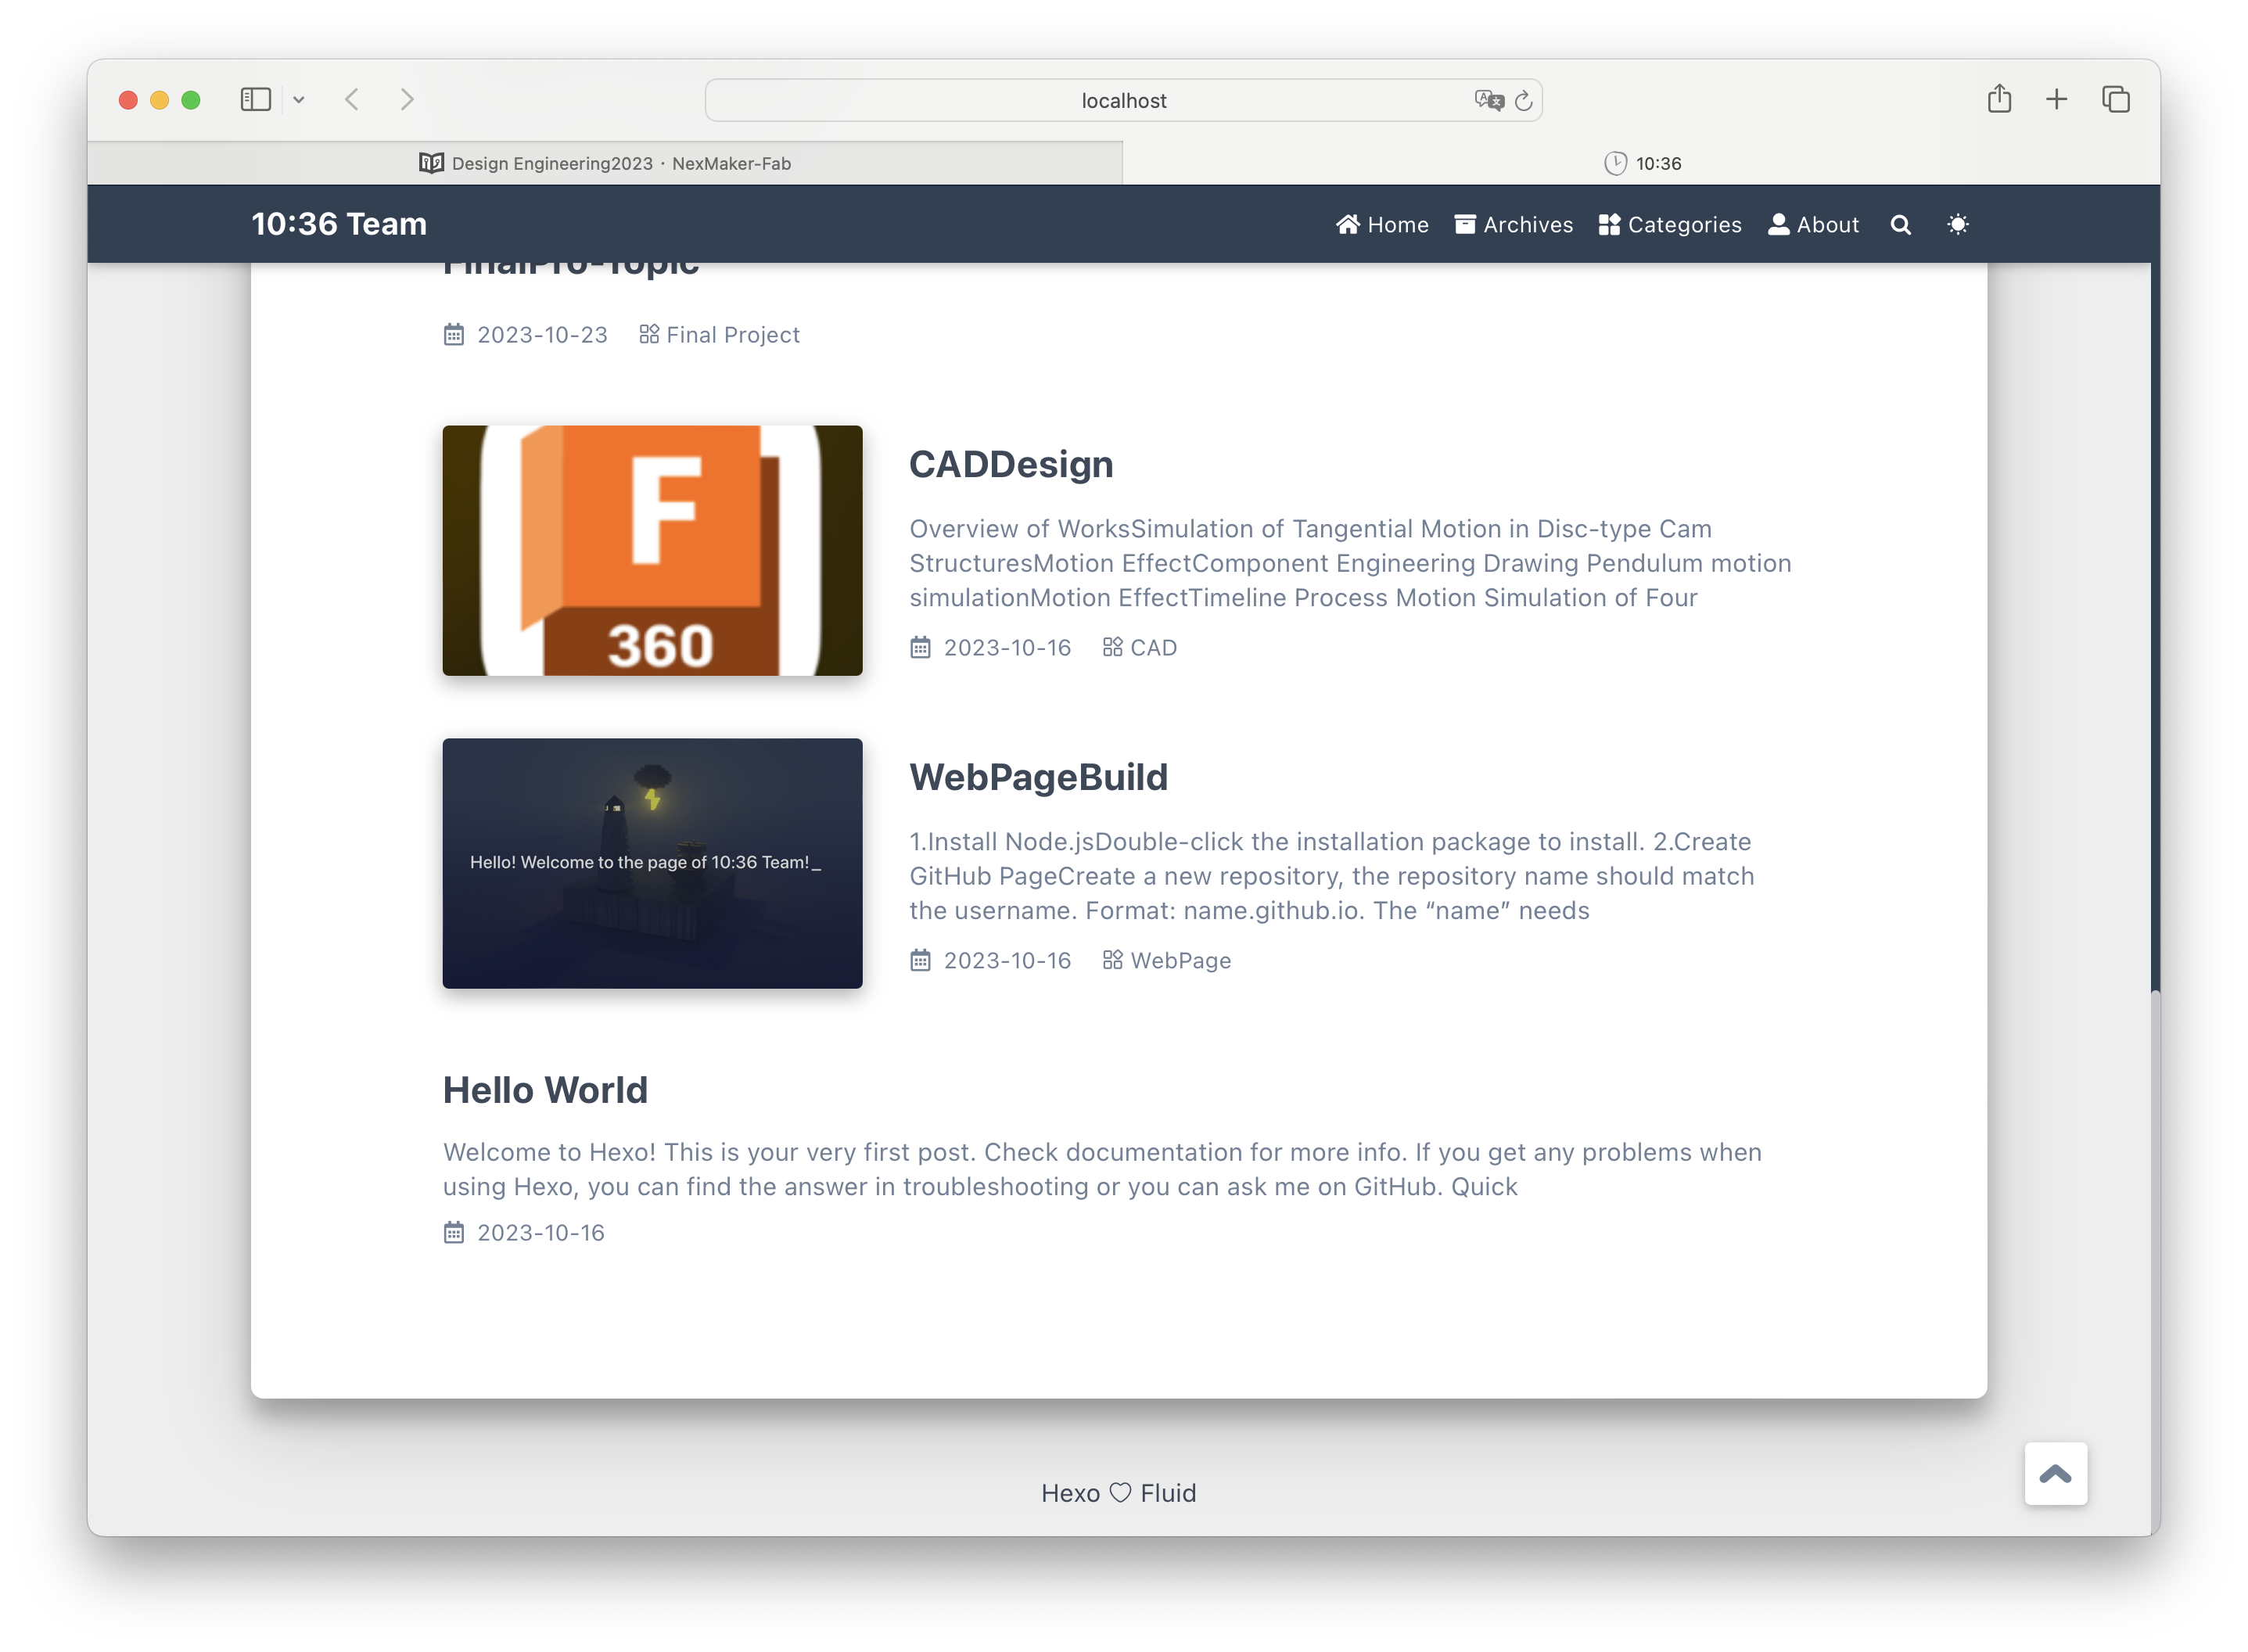
WebPageBuild
1.Install Node.js
Double-click the installation package to install.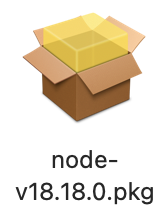
2.Create GitHub Page
Create a new repository, the repository name should match the username. Format: name.github.io.
The “name” needs to match your username on xxx.github.com, or else you won’t be able to access name.github.io properly.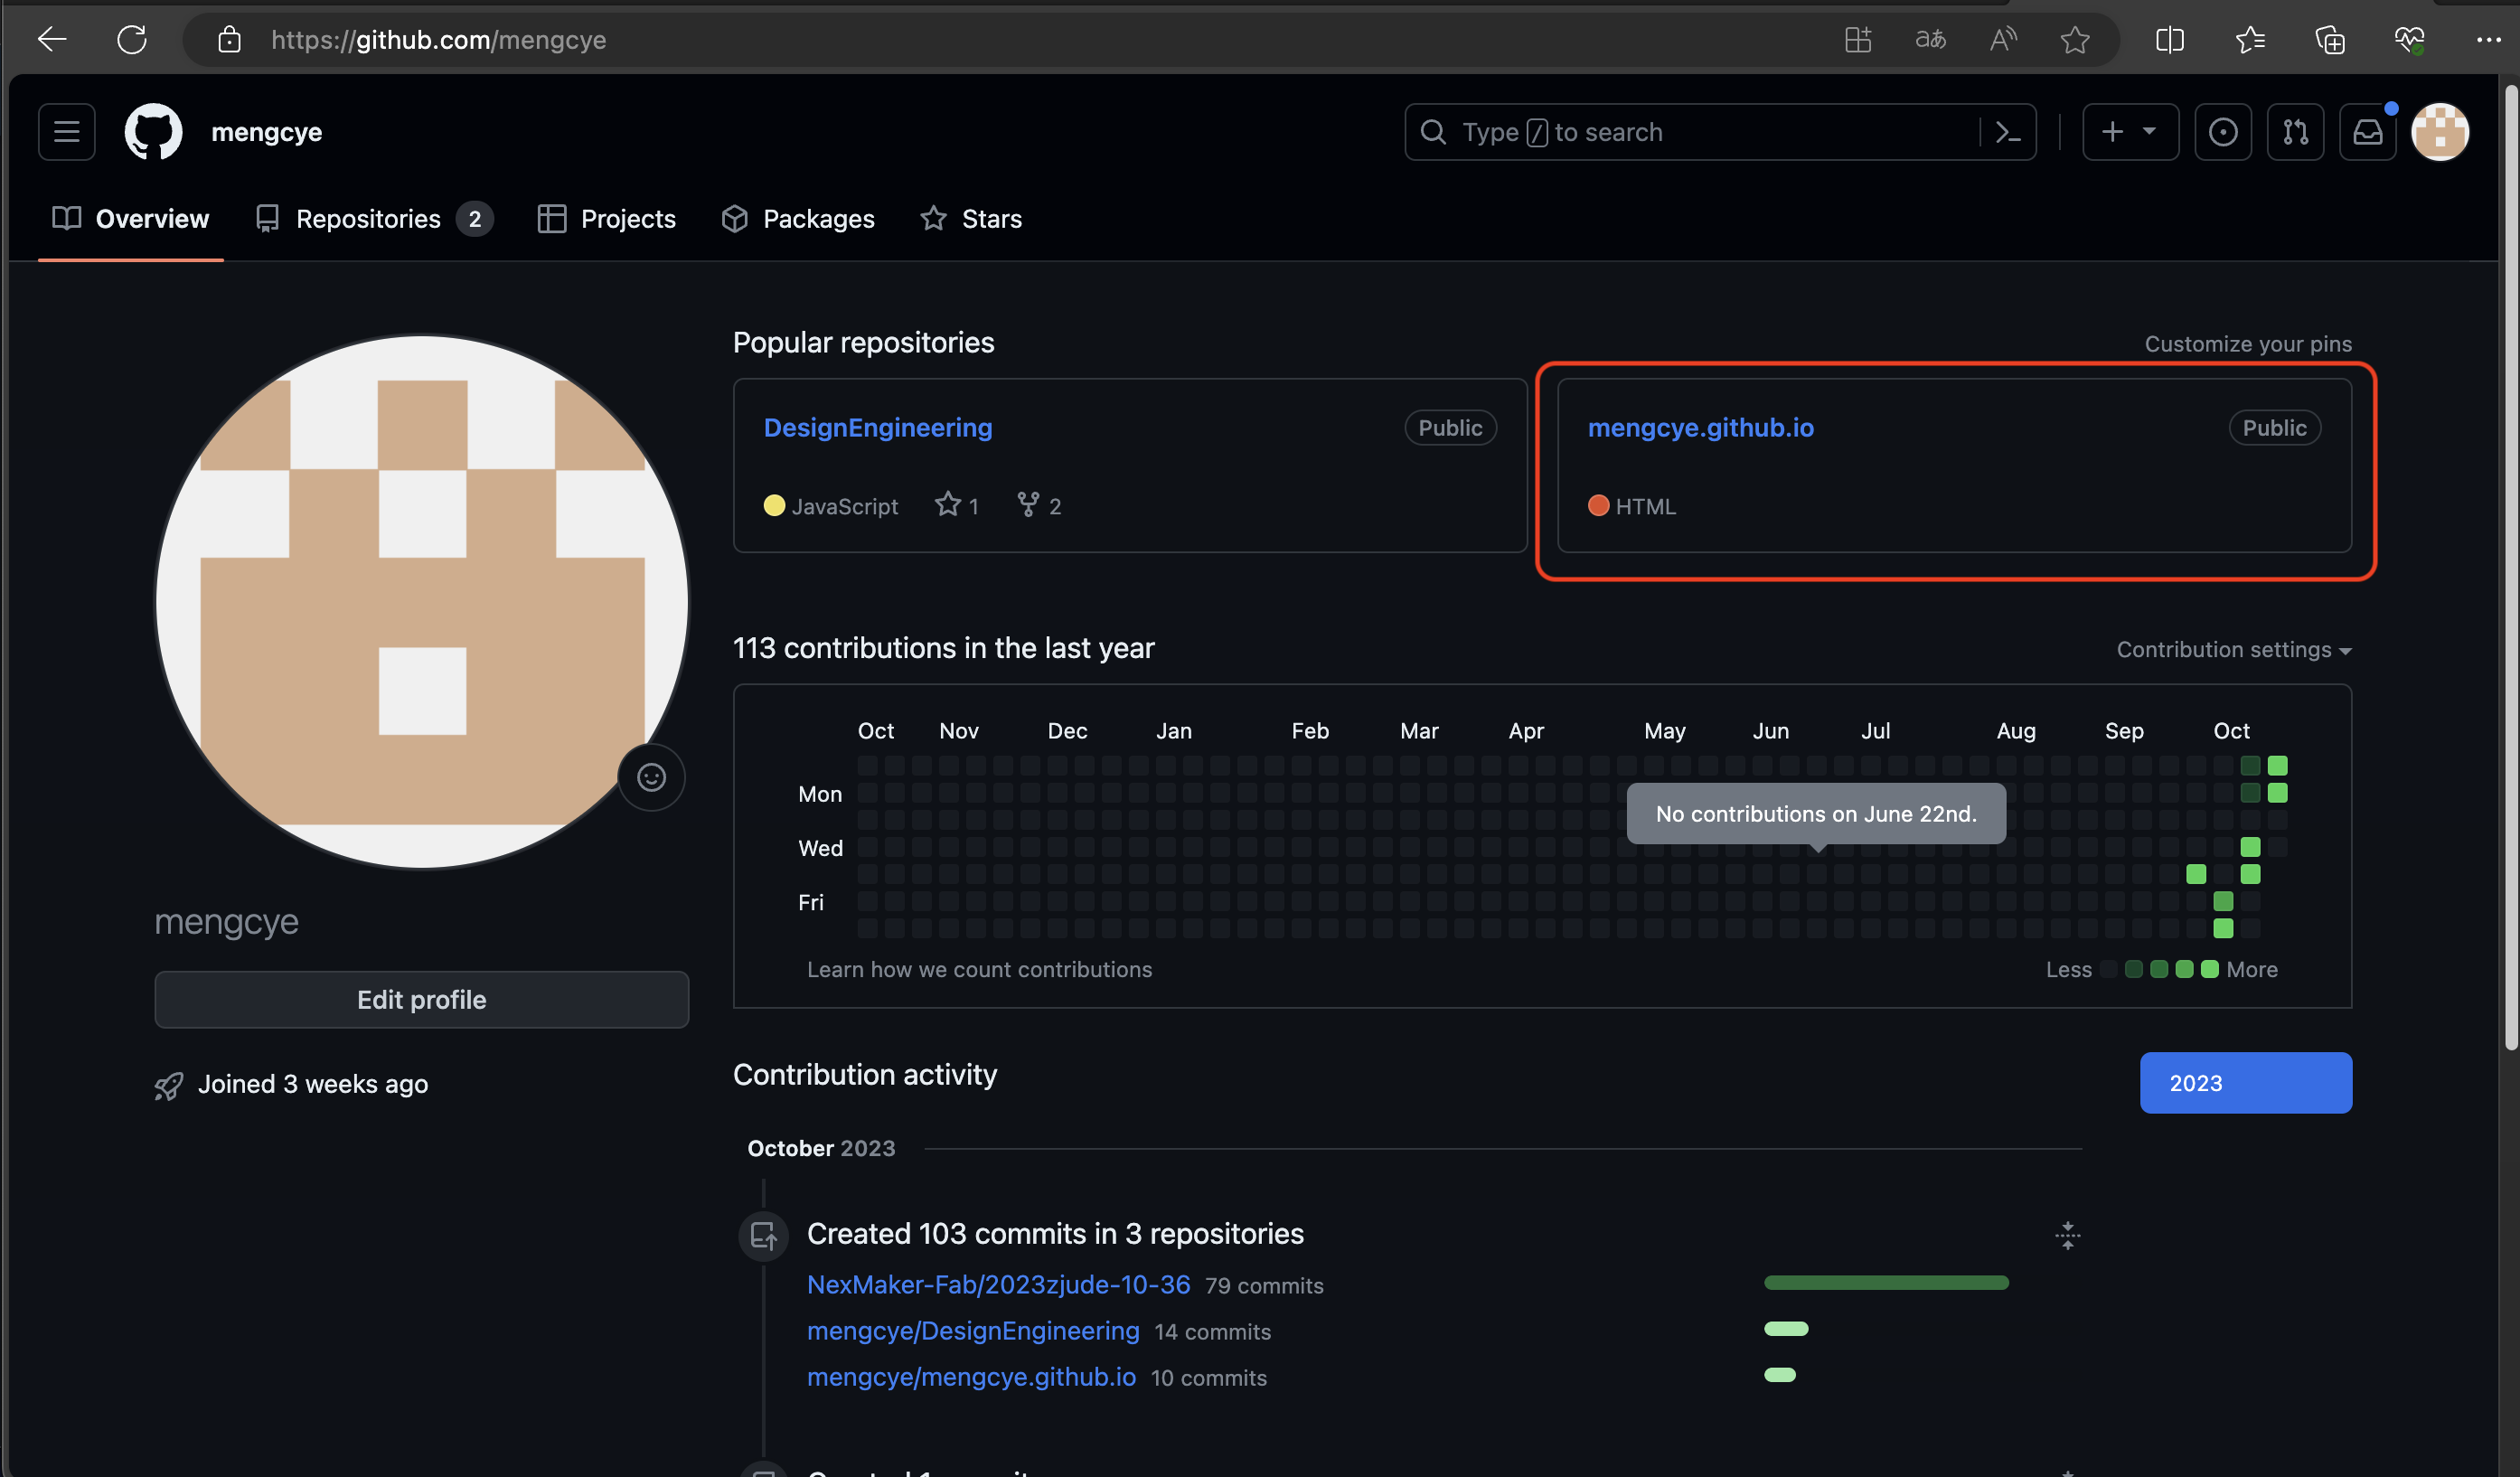
Access the repository’s Settings, go to Pages, turn on the page switch, and select the “main” branch.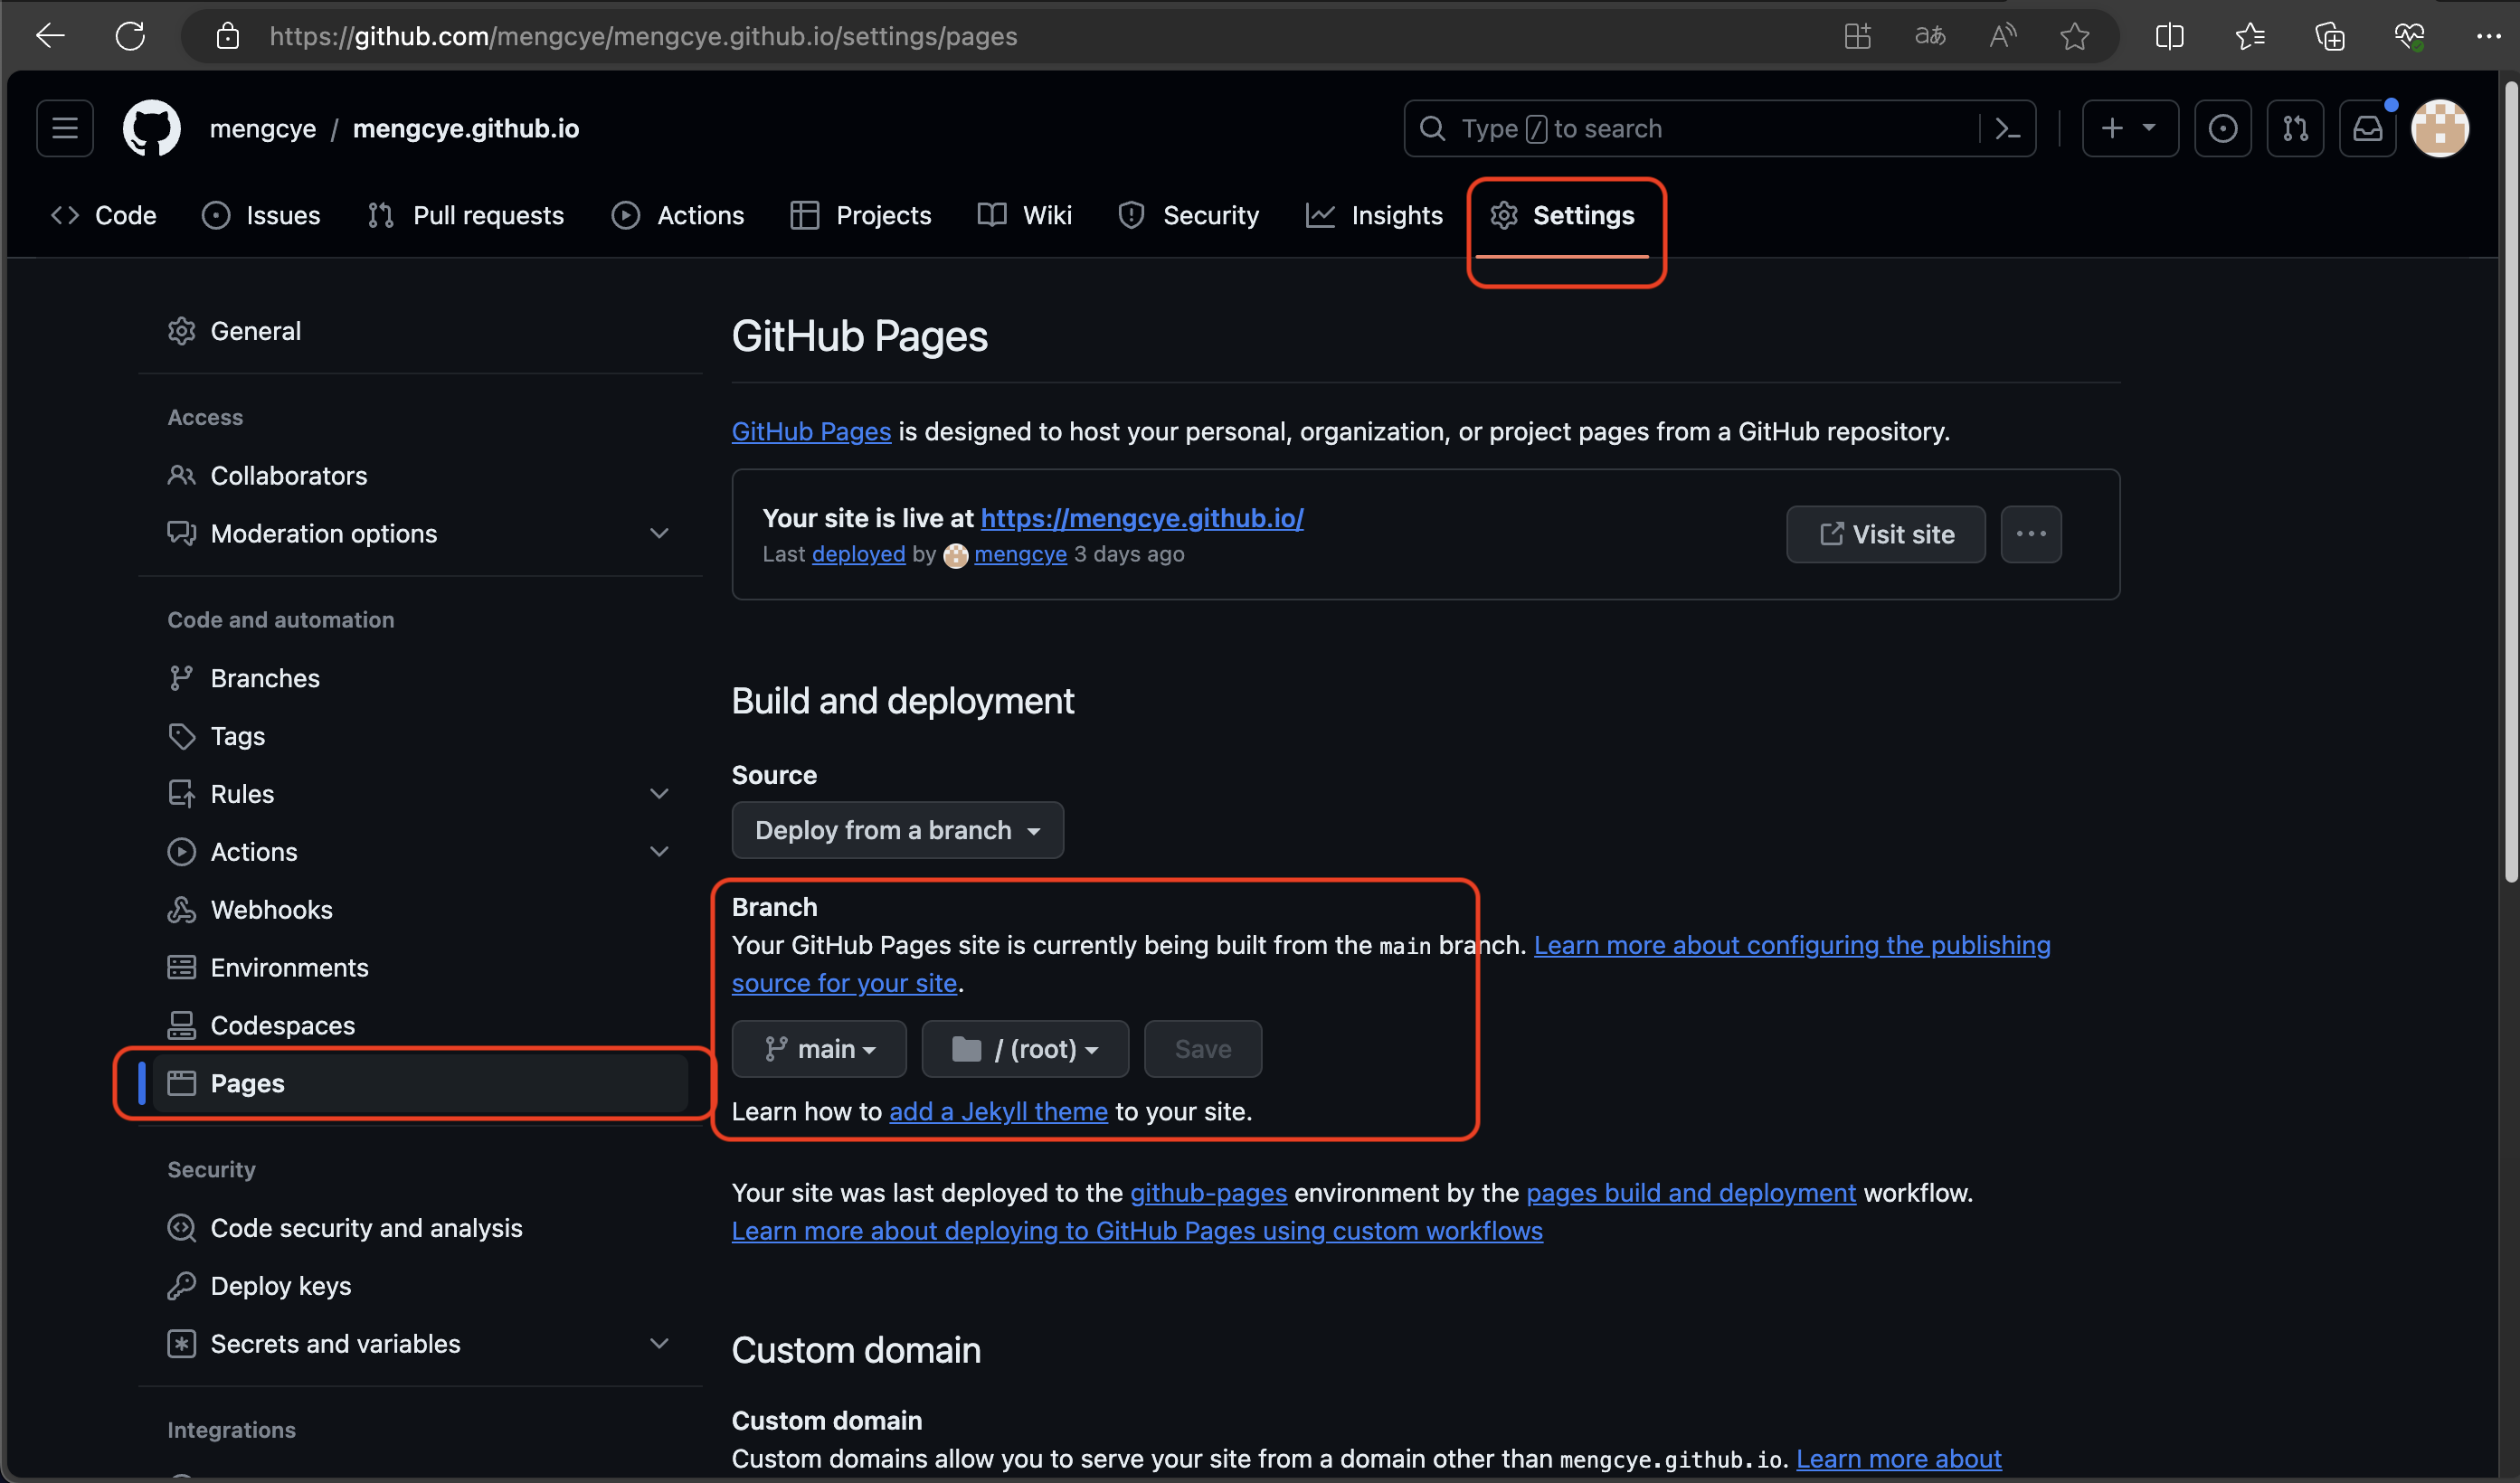
3.Group Collaboration
Add team members to the repository to collaborate on project management.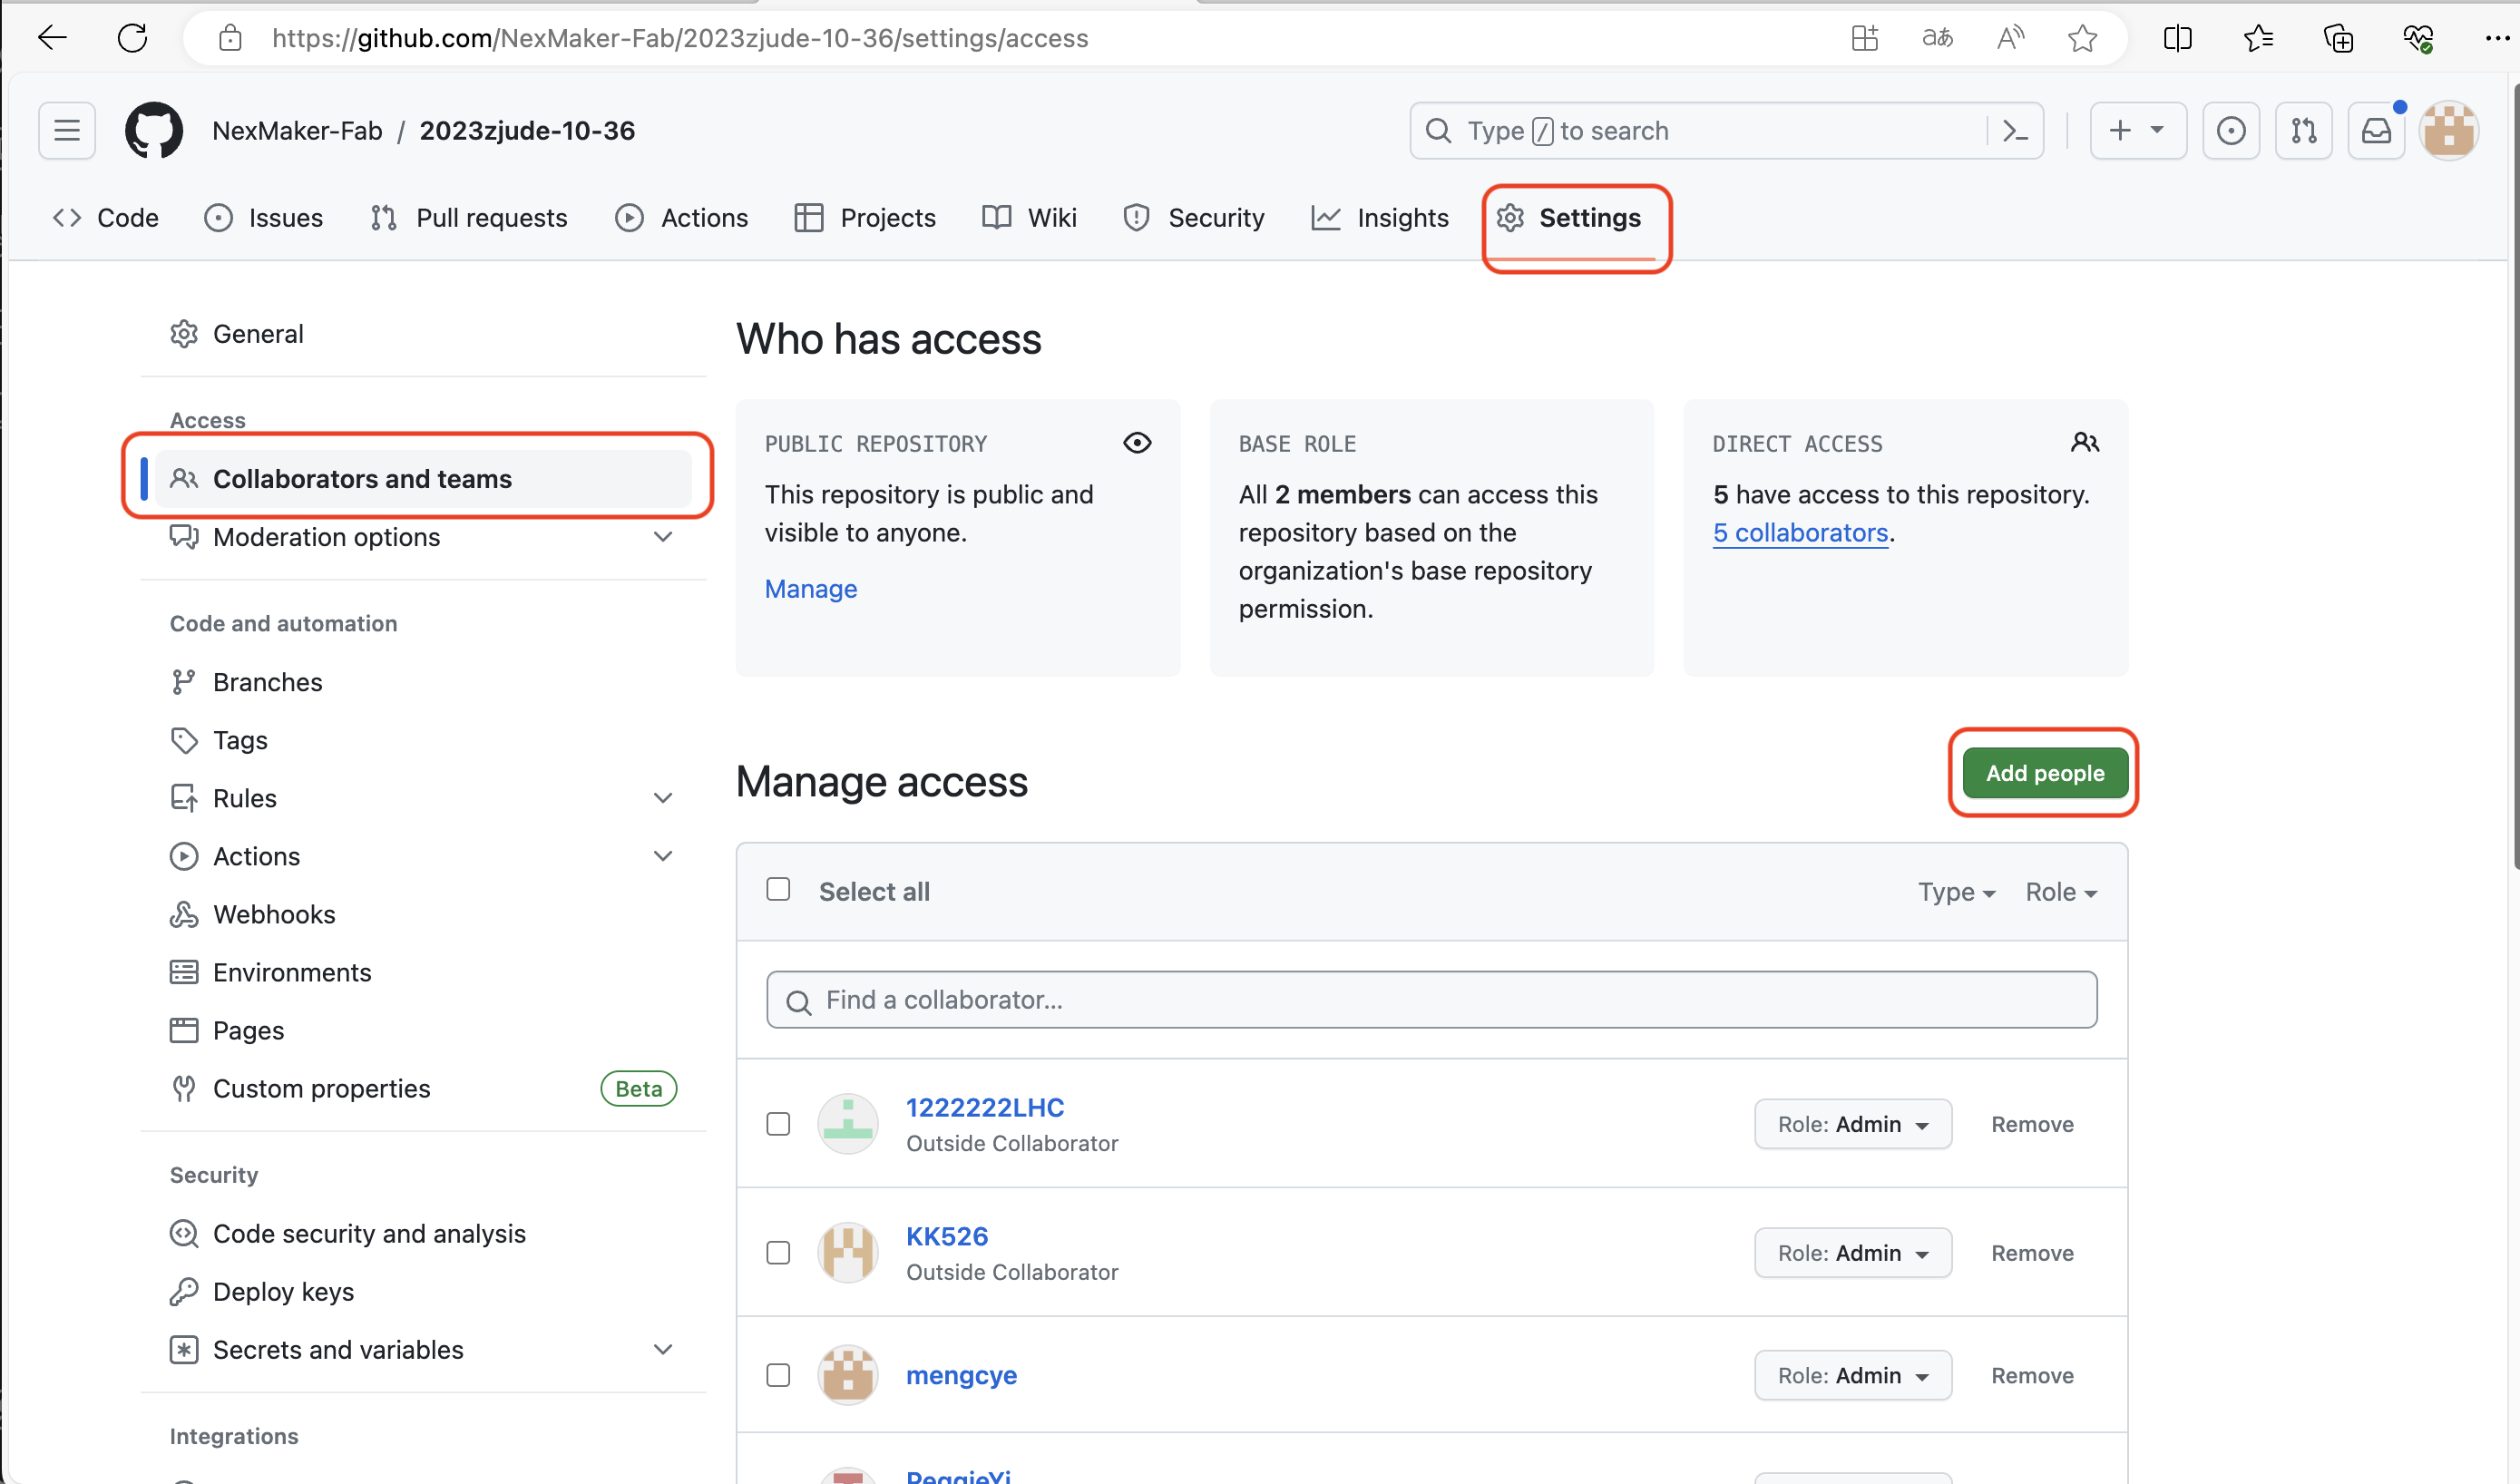
4.Run Git
Install GitHub Desktop by double-clicking on the installation package.
After a successful installation, log in to your GitHub account and then pull the corresponding repository.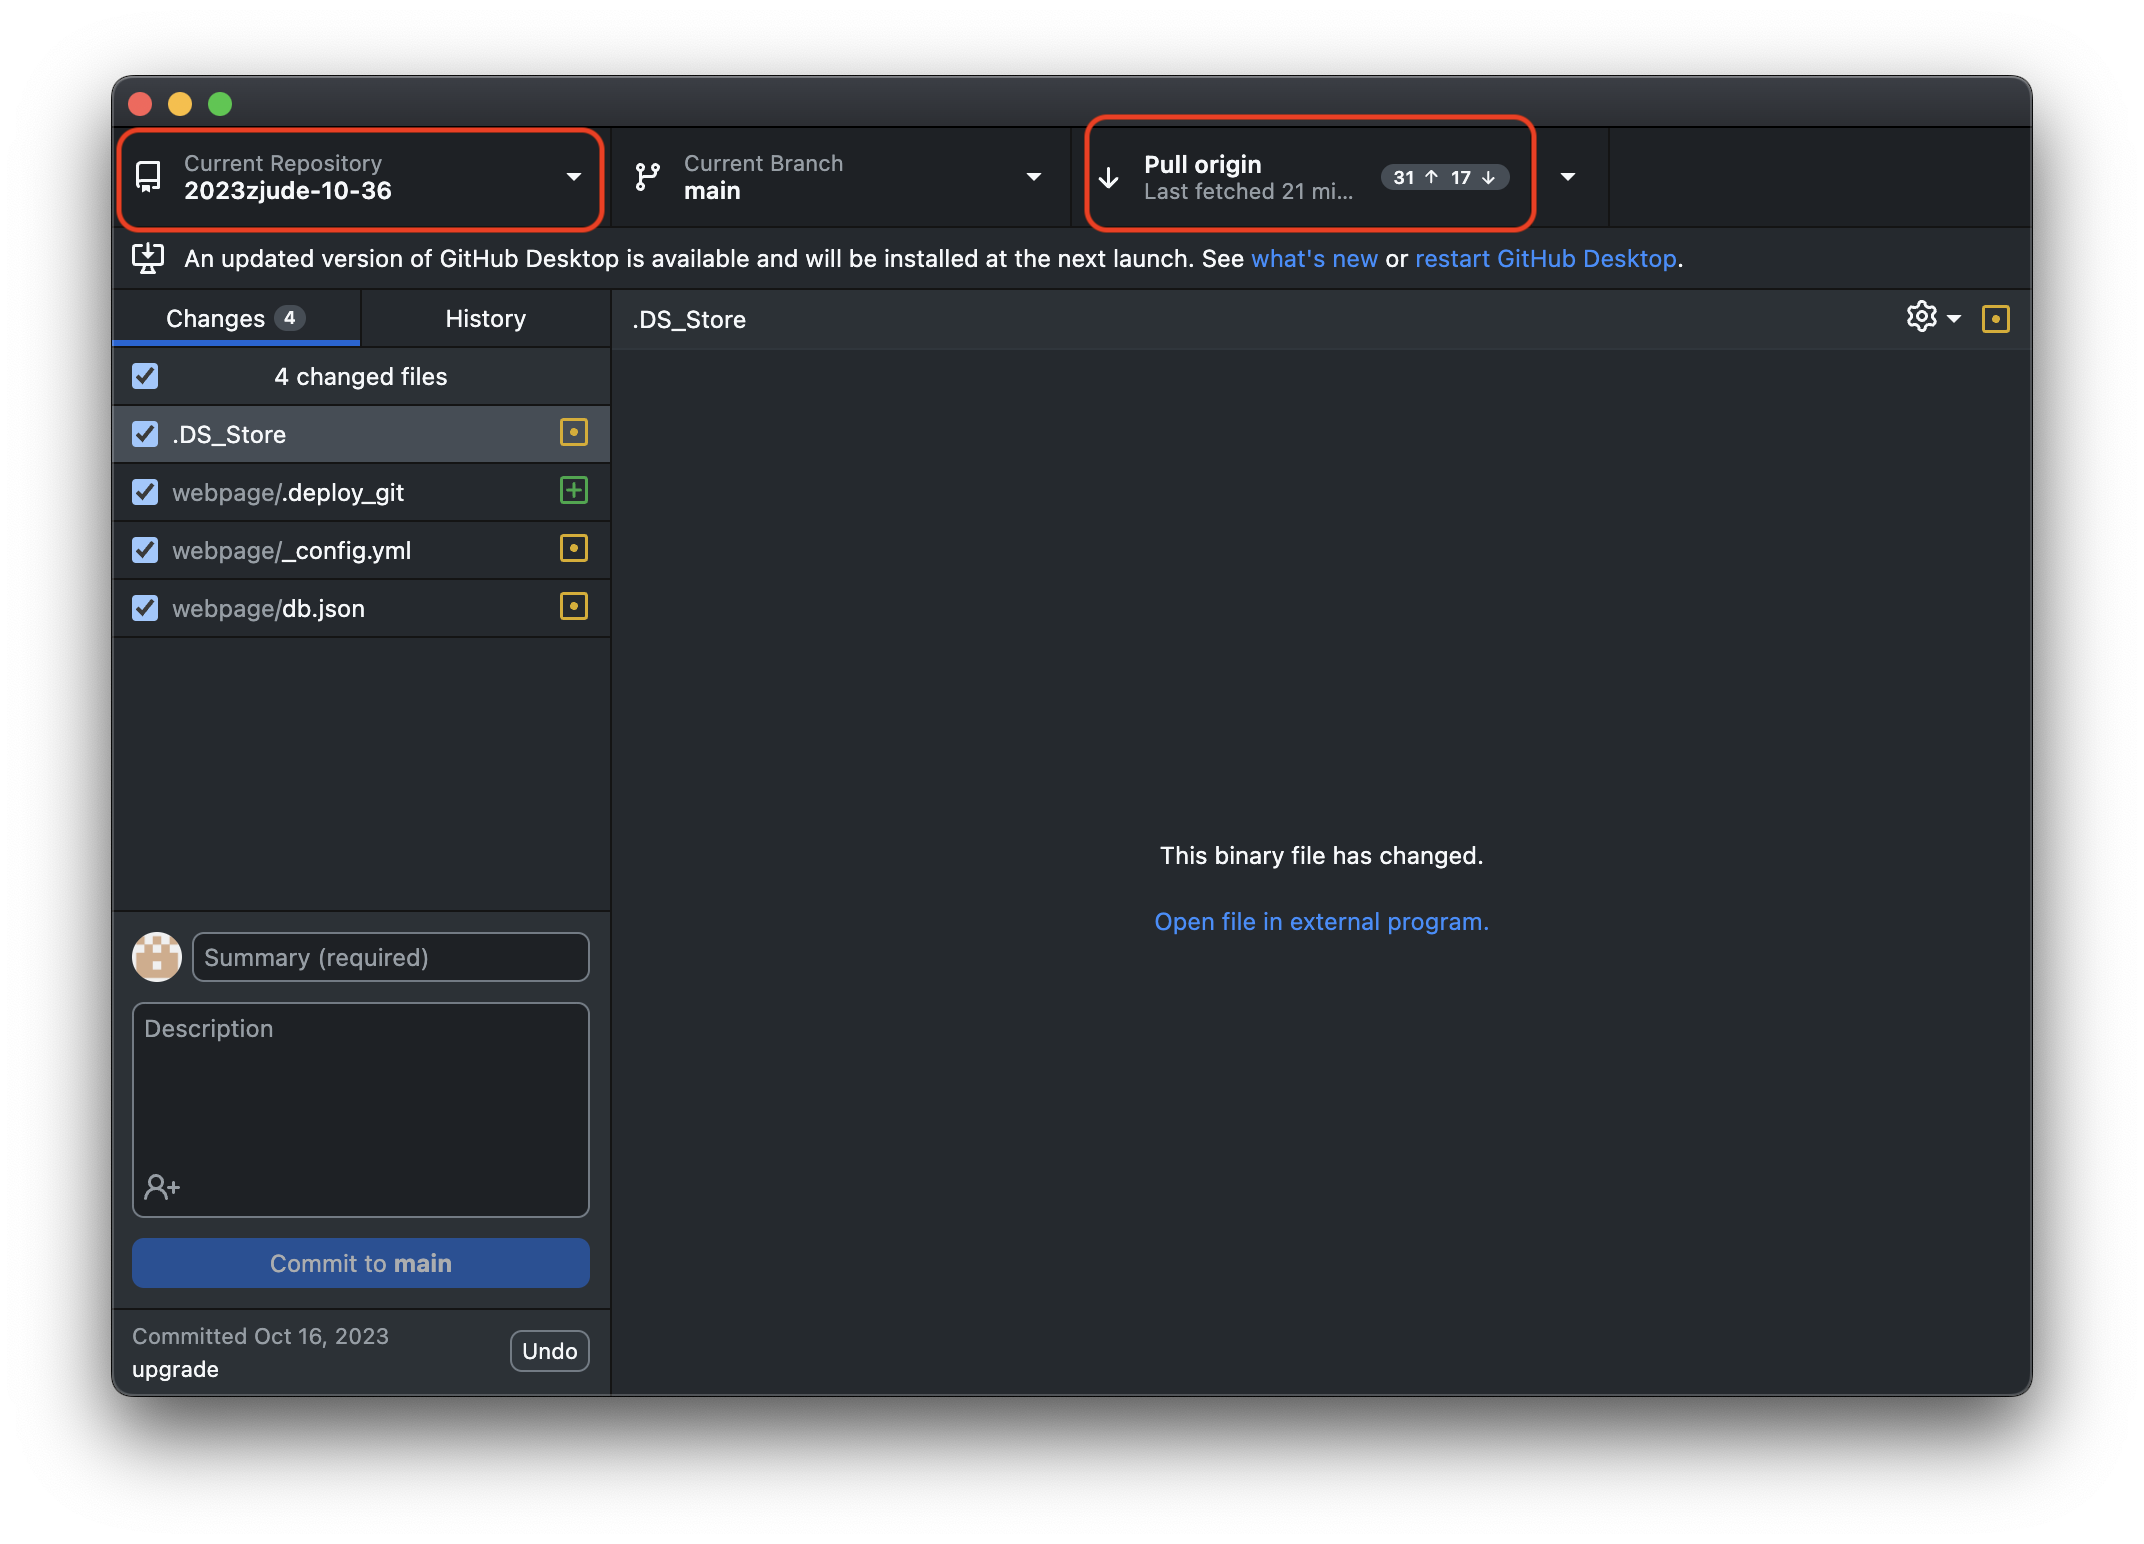
Edit the repository files in VScode, save your changes, and then push the modified content back to the repository.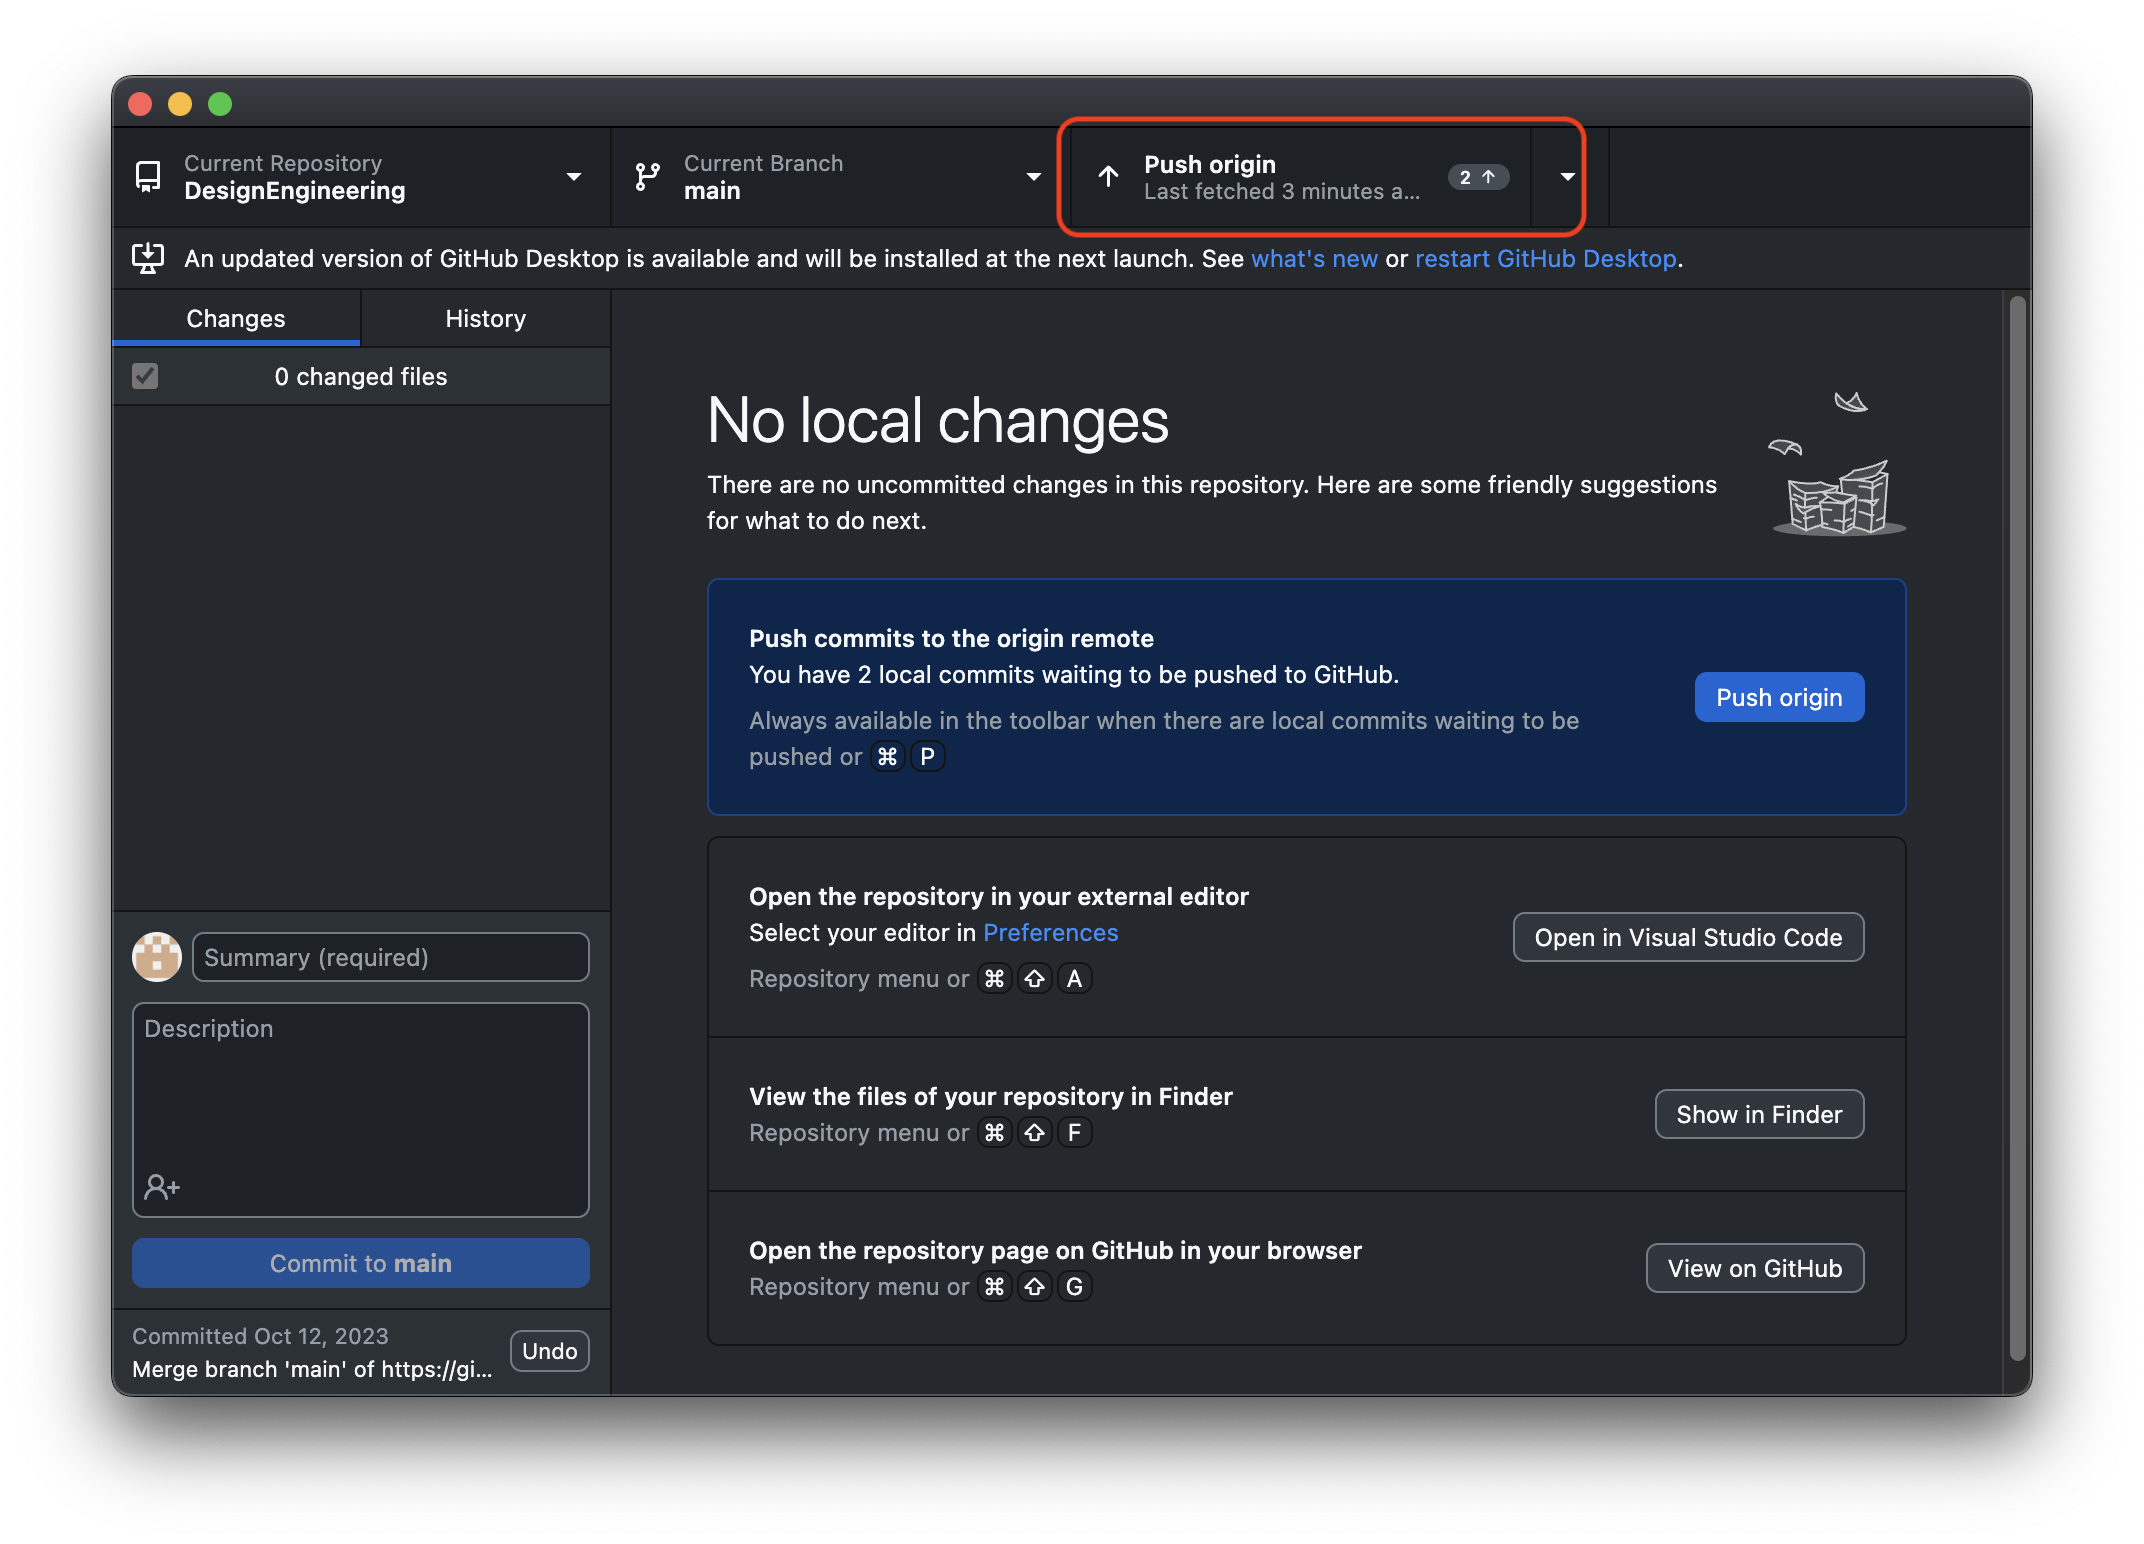
5.Install Hexo
Enter the following in the command line:
1 | |
Initialize the Hexo project.
The Hexo project will automatically create all the necessary files for your website in the target folder. Make sure to enter the command in an empty folder:
1 | |
After a successful initialization, files will be automatically generated in the folder.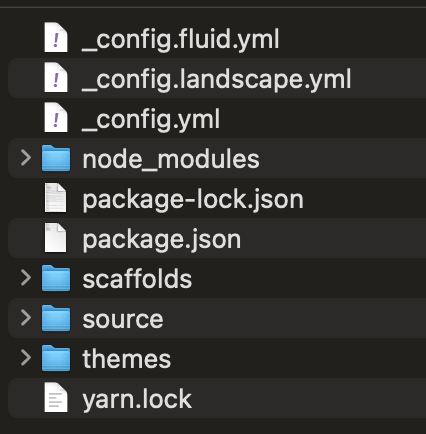
Install the dependency packages:
1 | |
Locally view the Hexo service:
Generate static files:
1 | |
Start the local server:
1 | |
Afterward, access http://localhost:4000 in your web browser for local preview.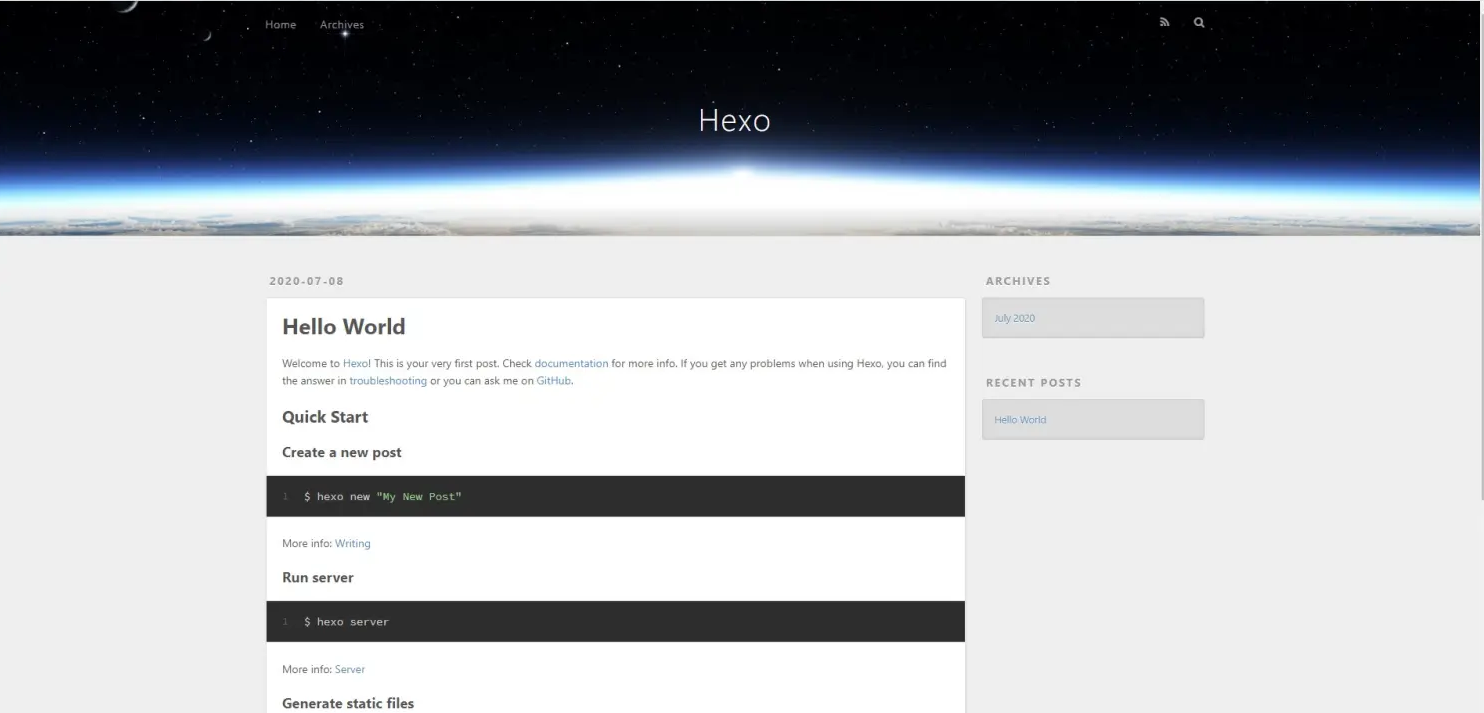
6.Install the Fluid theme
Enter the Hexo directory and execute the command:
1 | |
Specify the theme
Modify the configuration file to set the website theme to “fluid.”
Make the following modifications in the _config.yml file within your Hexo directory:
1 | |
After making the modifications, access local preview to see that the website theme has been successfully changed.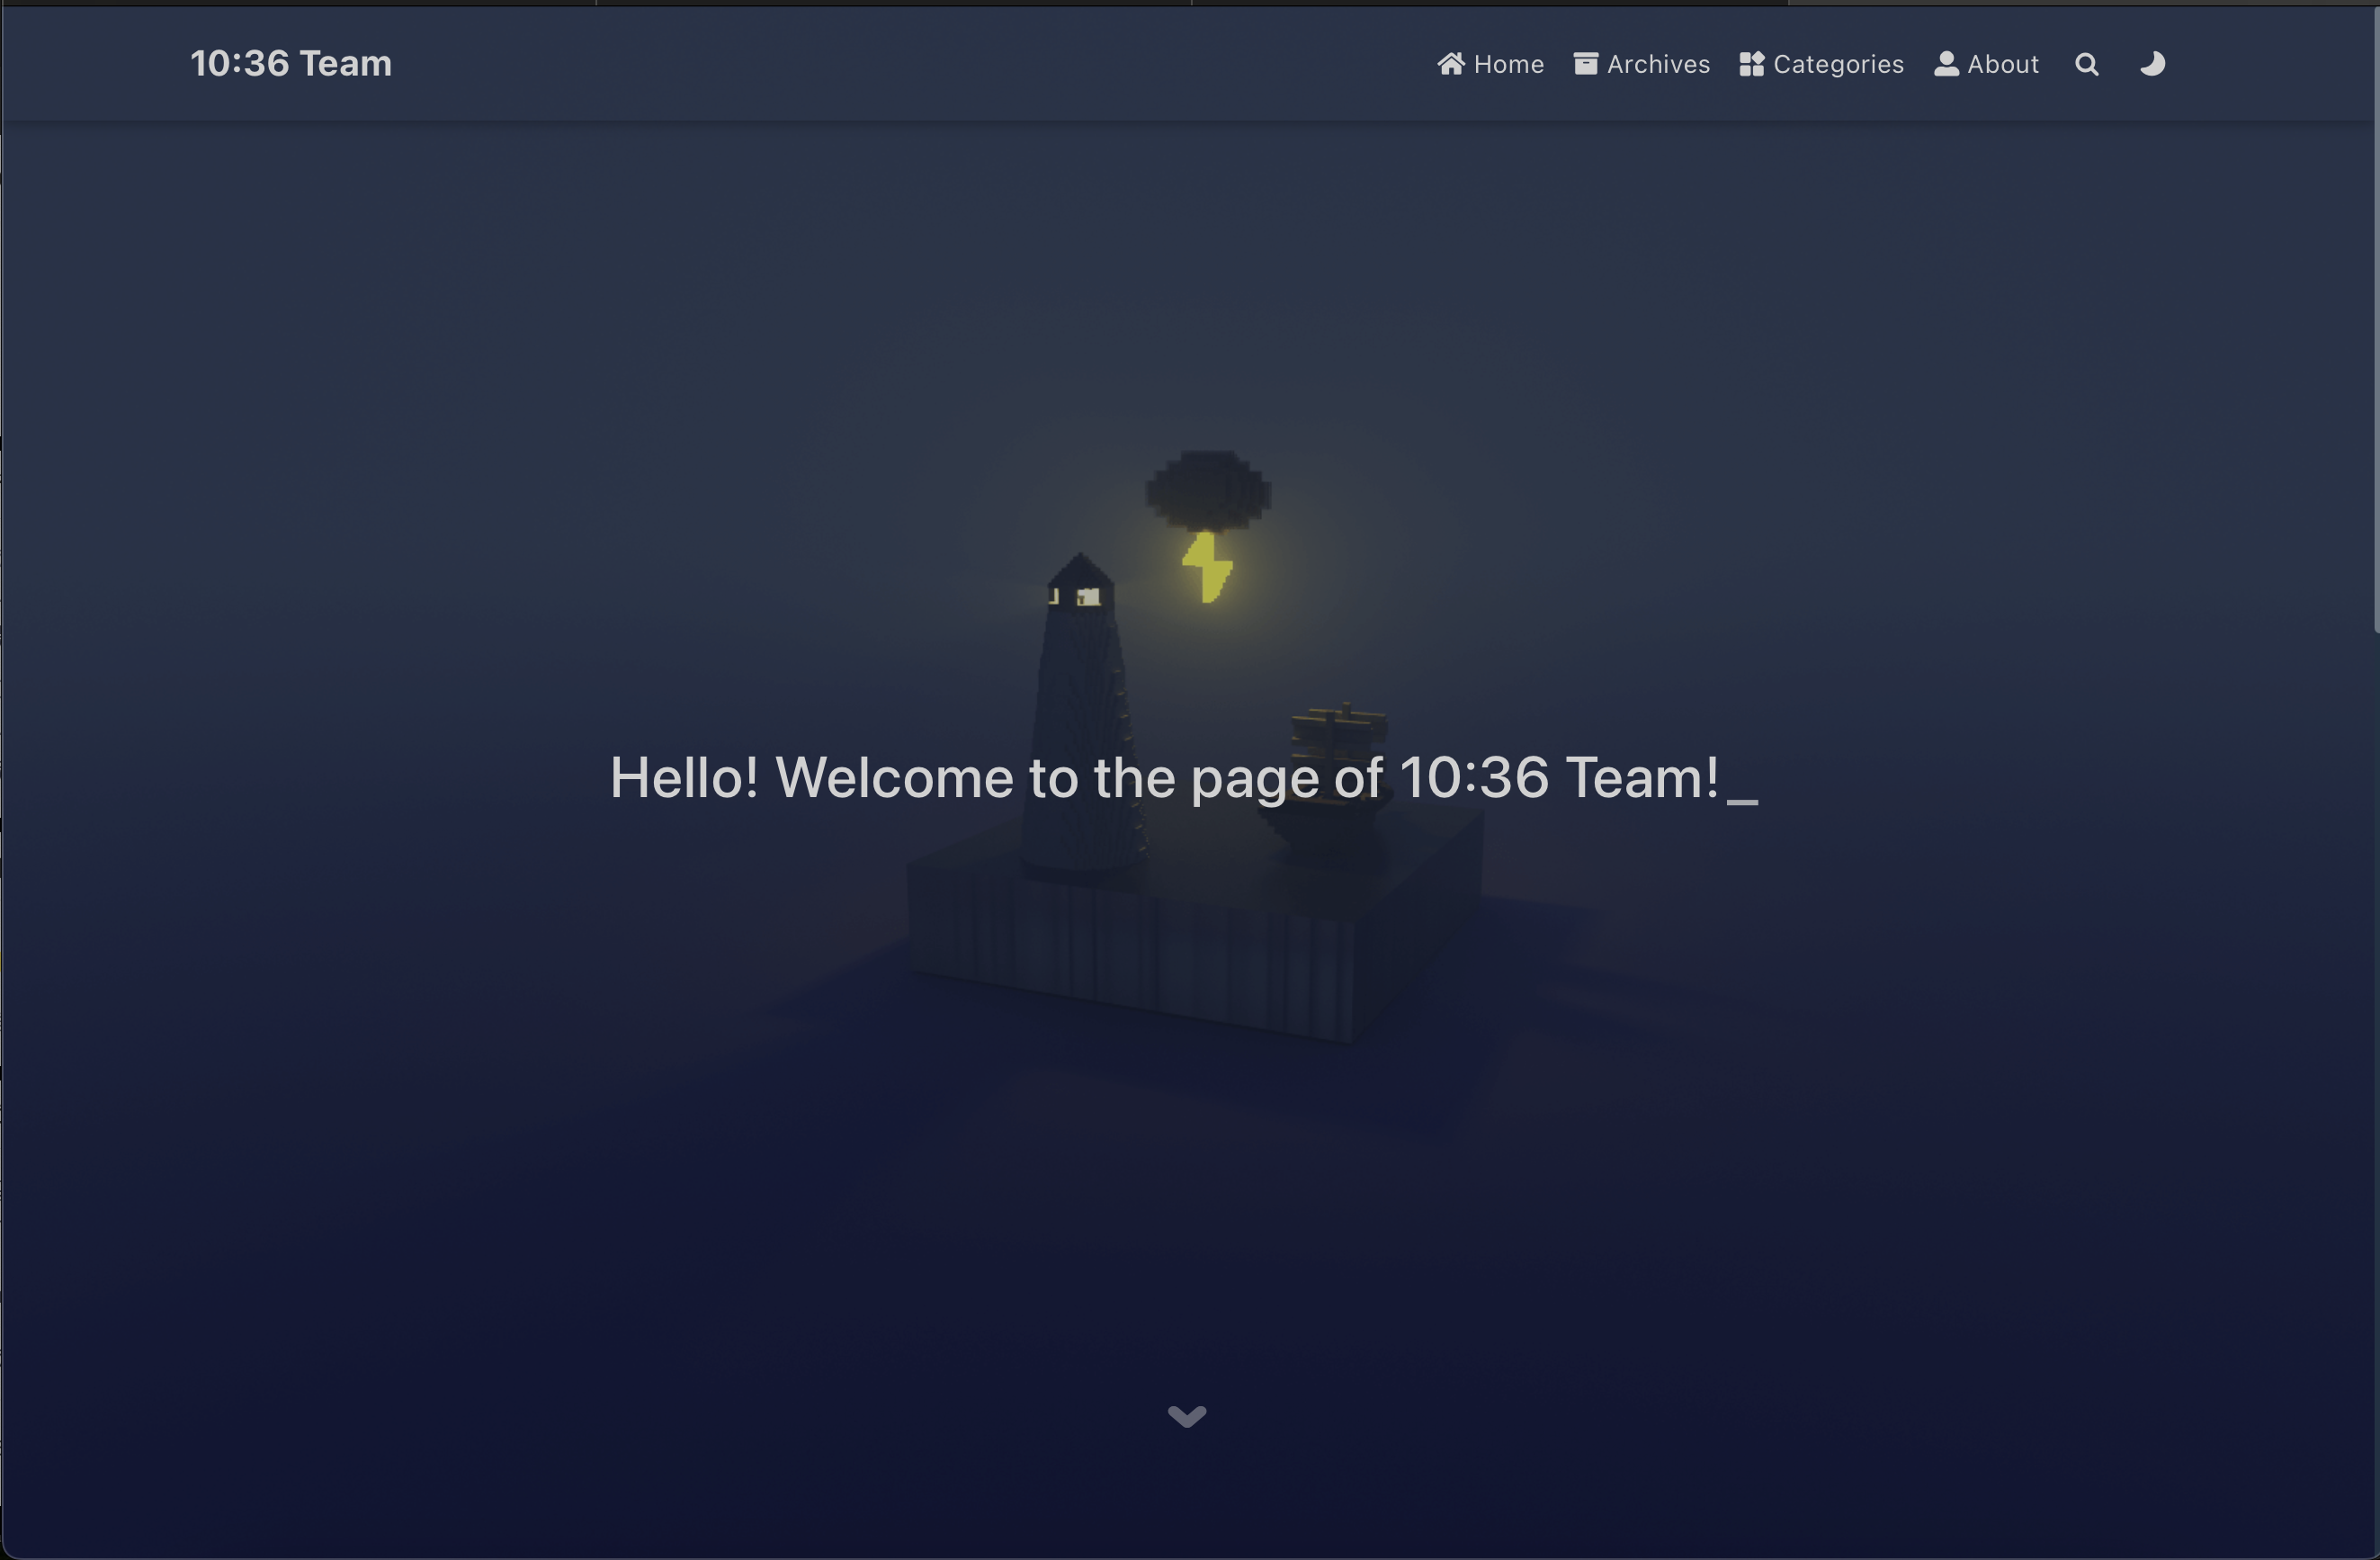
7.Create document pages
Create「About Page」
Enter the following command in the command line:
1 | |
After successfully creating it, modify /source/about/index.md and add the layout property.
Afterward, update the relevant content on the About Page, supporting Markdown and HTML.
Create a new article page
Enter the following command in the command line:
1 | |
The “pagename” is the title of the new page, and the page will be automatically created.
After successfully creating it, you can find the corresponding .md document in the /source/_posts directory. Click to edit the content, supporting Markdown and HTML.
Add images to the page
Import the images into the /source/img folder.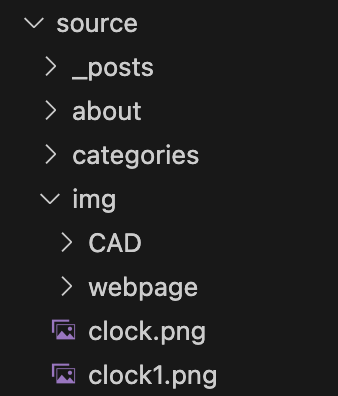
Edit the article content and insert images.
1 | |
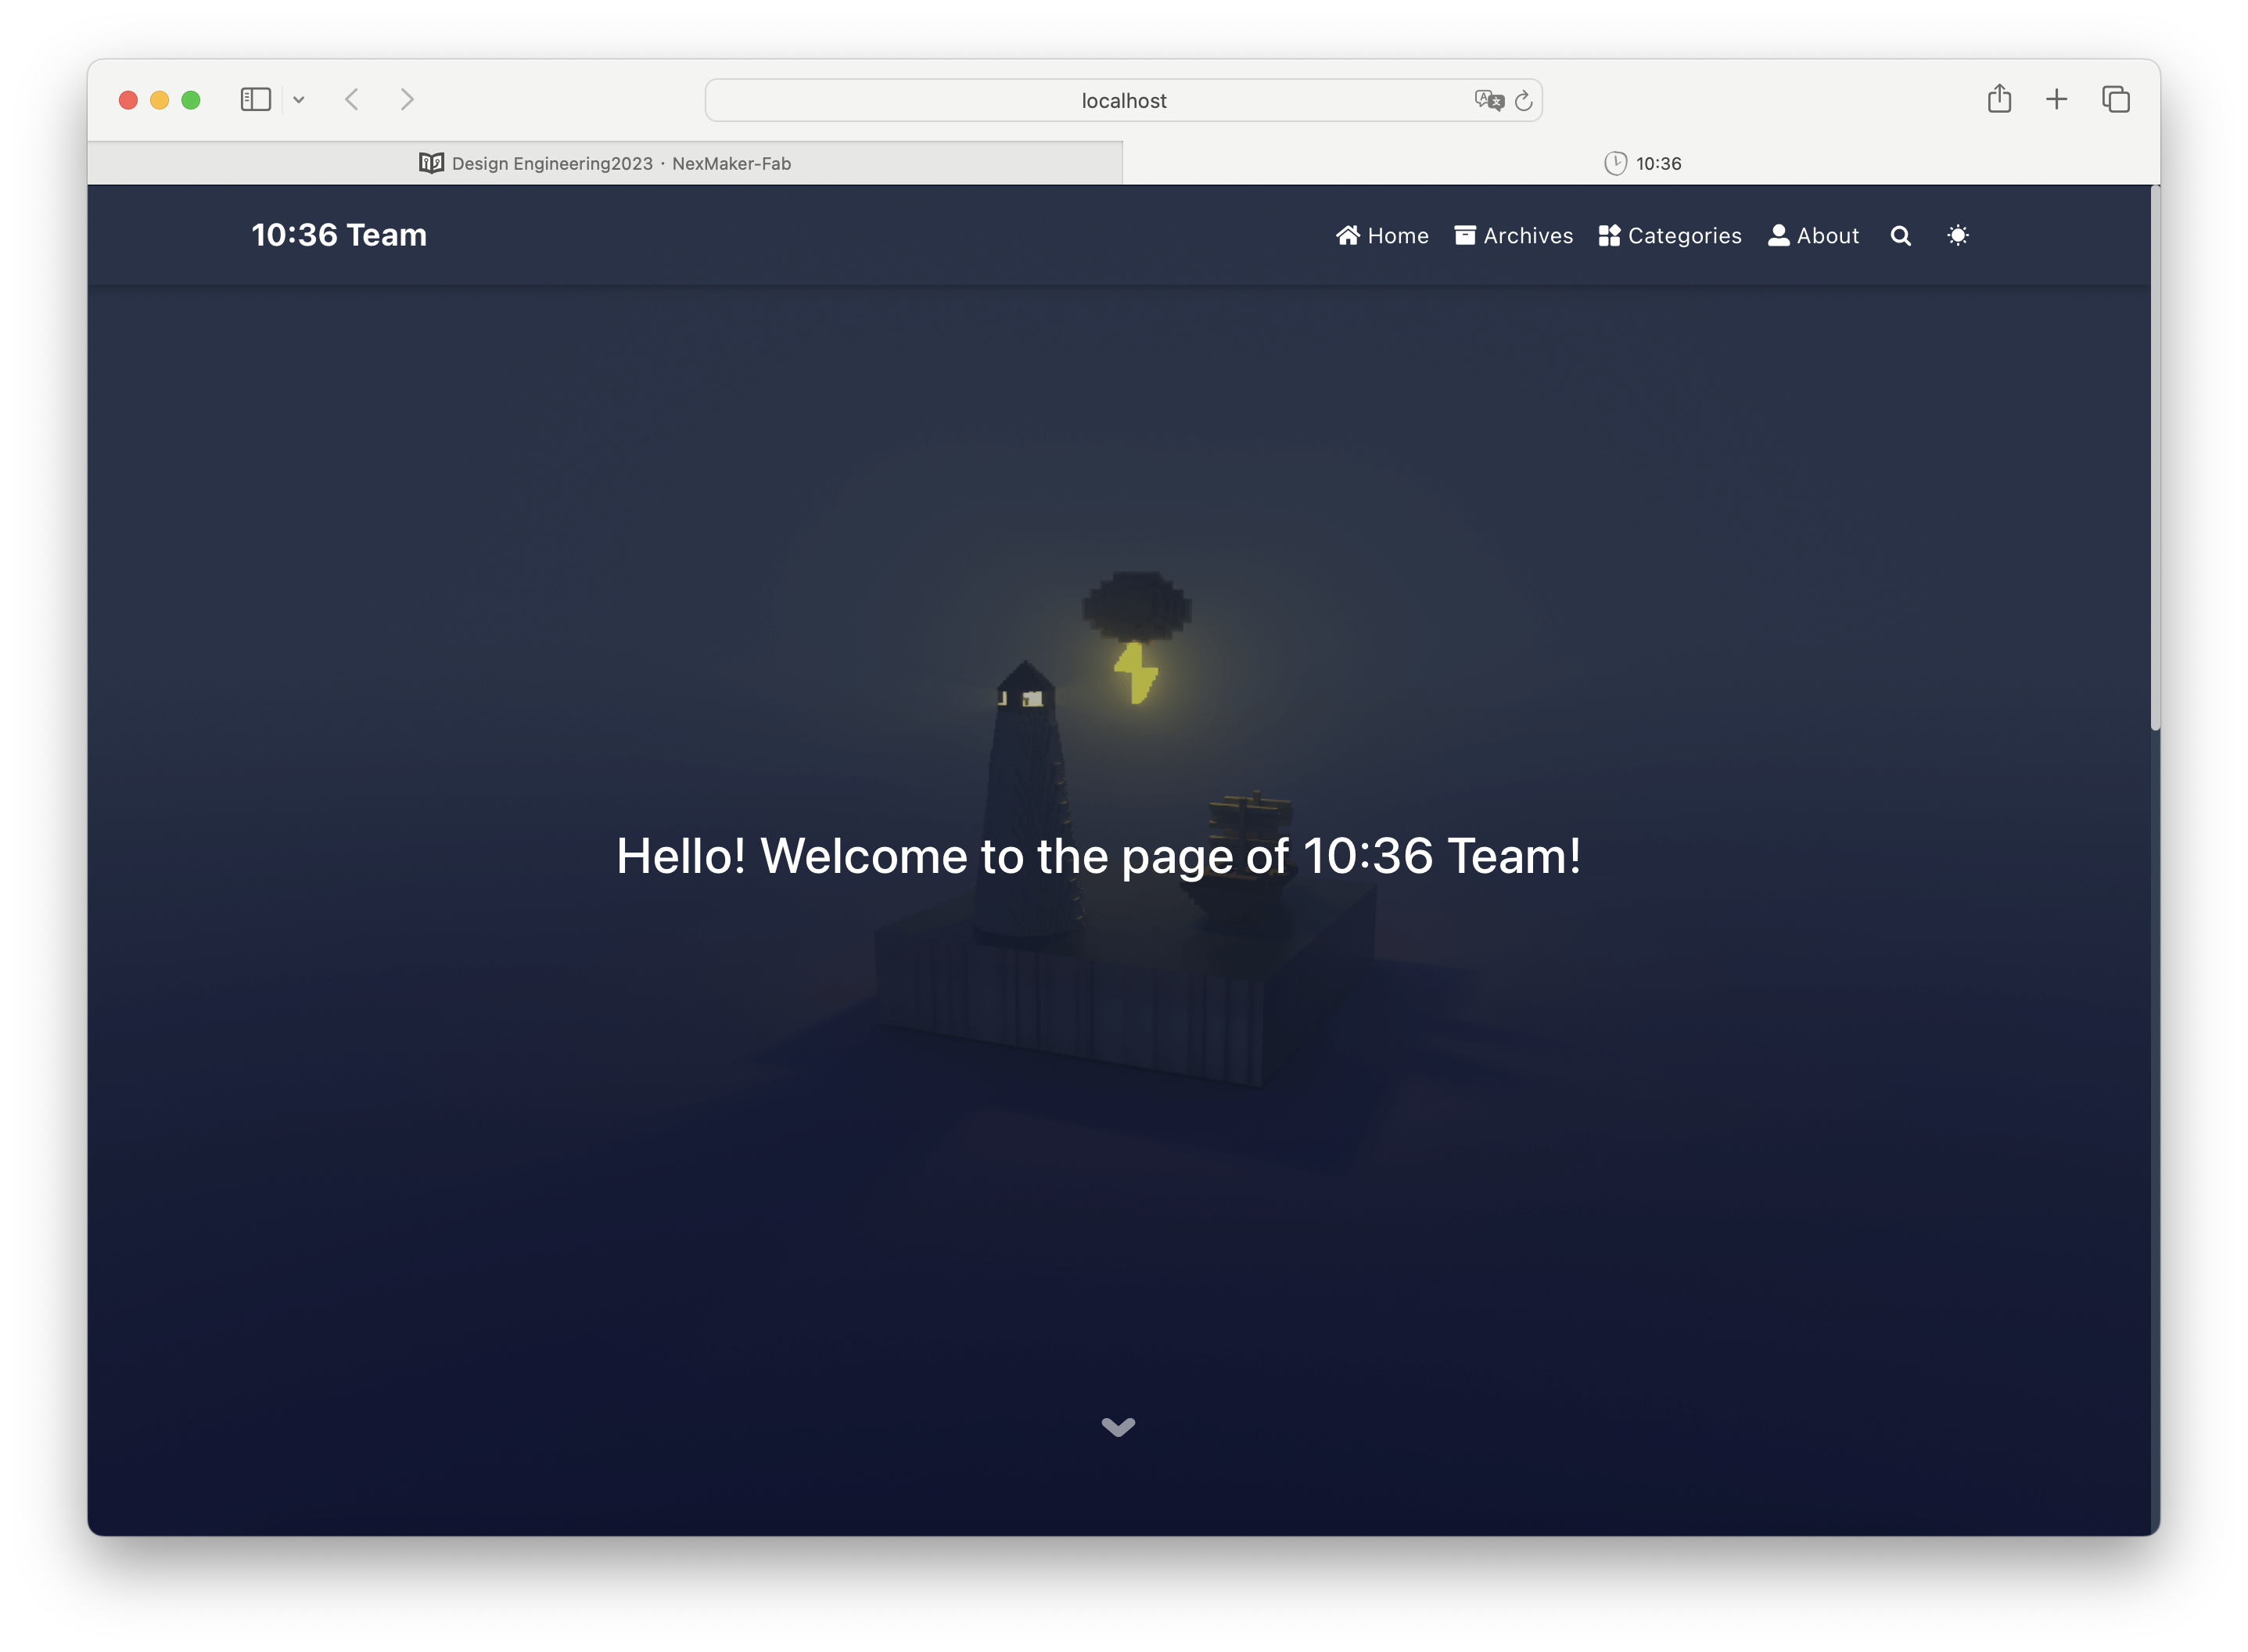
Home Page
Modify the homepage content in the _config.fluid.yml file.
Change the homepage title.
1 | |
Edit the homepage typewriter text.
1 | |
Change the site favicon.
1 | |
Edit the menu bar content.
1 | |
Navigation bar menu. key is used to associate languages/*.yml. If there is no association, the value of key itself will be displayed; if icon is a css class, it can be omitted; adding name can force the display of the specified name
8.Deployment
Add deployment configuration in the _config.yml file.
1 | |
Before each deployment, it’s necessary to clear the existing static files, generate new static files, and then proceed with the deployment.
Execute the following commands in sequence:
1 | |
After a successful deployment, visit the corresponding GitHub Pages URL to view our website.
9.The final homepage display
Reference
https://blog.csdn.net/sedbz/article/details/126032526
https://hexo.fluid-dev.com/docs/start/#%E4%B8%BB%E9%A2%98%E7%AE%80%E4%BB%8B